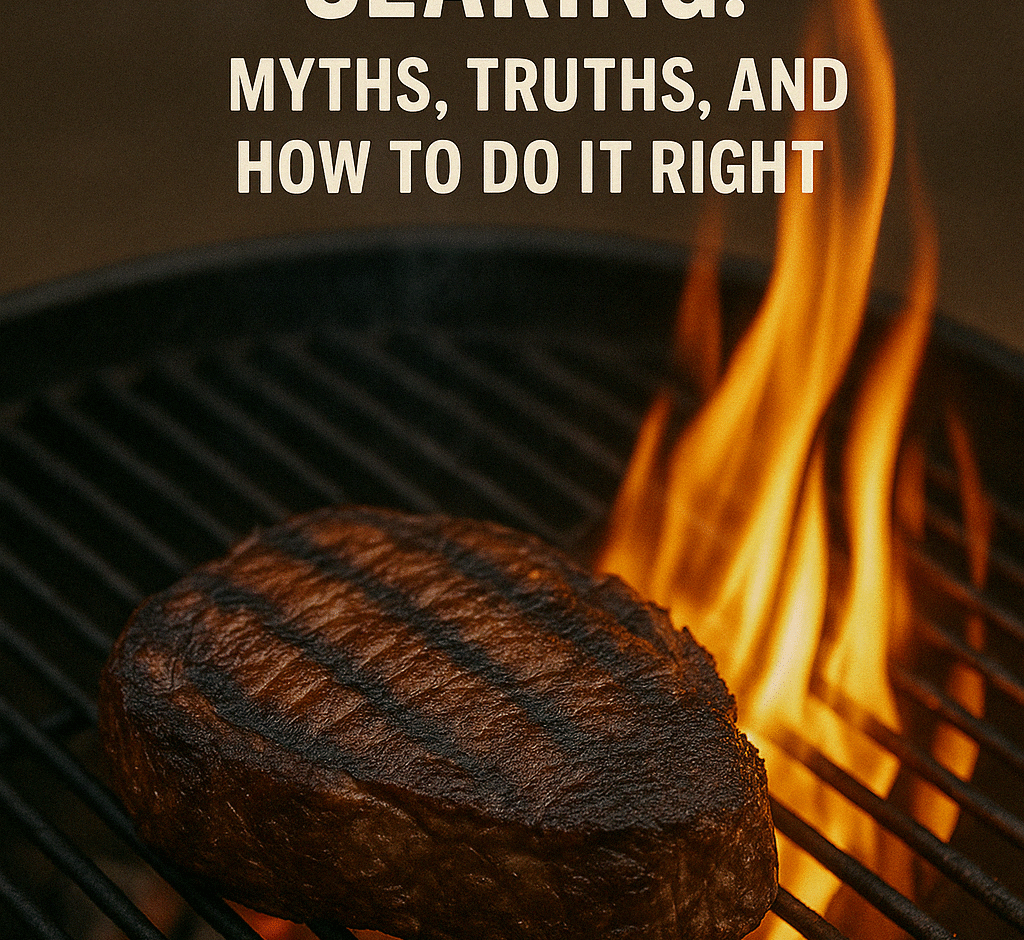
Think searing seals in juices? Think again. Here’s the real science behind searing meat and how to get that perfect, flavor-packed crust.
The Sizzle vs. The Truth
We’ve all heard it — “Searing locks in the juices.” It sounds good, right? That fierce sizzle hitting the grill makes it feel true. But here’s the real story: searing doesn’t trap juices inside your meat.
What it does do — and why it’s still essential — is create a flavor-packed, golden-brown crust through something called the Maillard reaction. That’s the complex chemical magic that happens when amino acids and sugars react to high heat, giving you those rich, savory flavors and killer grill marks.
So, while searing won’t seal anything in, it will take your meat to the next level of flavor.
What Is the Maillard Reaction?
The Maillard reaction kicks in around 285°F and really ramps up between 300°F and 500°F. That’s why you want to dry your meat before searing — moisture cools the surface, making it harder to brown.
When the Maillard reaction gets going, it transforms the outer layer of your steak, burger, or chop into something caramelized and complex. It’s not just browning — it’s pure flavor-building science.
How to Sear Like a Pro
1. Start with Dry Meat
Pat your protein dry with paper towels. If it’s too wet, it’ll steam instead of sear.
2. Use High Heat
Crank up your grill or preheat a cast iron skillet. You want serious heat — 450°F+ is the sweet spot.
3. Oil the Meat, Not the Grill
Lightly coat your meat with a high smoke-point oil like canola or avocado. Don’t dump oil on the grates.
4. Don’t Move It Too Soon
Put the meat on the hot side and leave it alone for 1–3 minutes per side. Let that crust develop. If it sticks, it’s not ready to flip yet.
5. Finish to Temperature
Once the sear is set, move thicker cuts to indirect heat and finish cooking to your desired internal temp.
When to Sear (And When Not To)
Great for:
- Steaks
- Chops
- Burgers
- Tuna
- Scallops
Not necessary for:
- Slow-cooked ribs
- Pulled pork
- Chicken thighs (unless finishing skin-side down)
Pro move: Use reverse searing (covered in Article #3) for thick cuts — it gives you more control and a perfect final crust.
Searing Tips You Might Not Know
- Salt draws moisture — salt your meat 40 minutes ahead or right before cooking. Anything in between pulls out moisture without enough time to reabsorb.
- Thicker meats need finishing over indirect heat. Sear isn’t about doneness — it’s about the outside texture and flavor.
- Cast iron delivers the best pan sear if you’re not using the grill.
Final Thoughts
Searing might not “lock in juices,” but it absolutely locks in flavor. When done right, it adds texture, color, and crave-worthy taste to your BBQ. Understanding the science gives you more control, better results, and the power to cook with confidence.
