
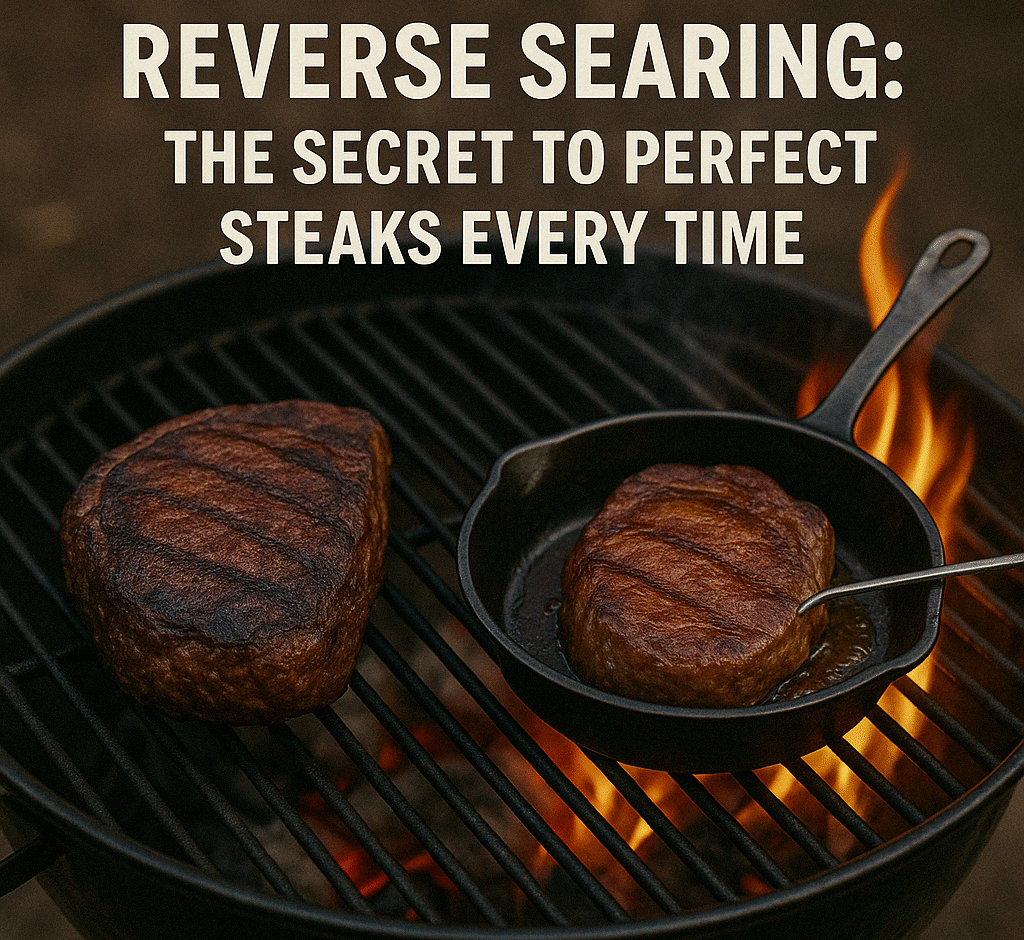
Get restaurant-quality steak right at home. Learn how the reverse sear method creates edge-to-edge doneness with a crust that sizzles.
What Is Reverse Searing?
Most folks throw a steak on the grill, sear it first, then move it to the side to finish cooking. Reverse searing flips that process on its head — and the results speak for themselves.
Reverse searing means starting your meat low and slow on indirect heat, then finishing it off with a blazing hot sear over direct heat. This gives you better control over internal temperature, a more even cook, and that perfect crust without overcooking the inside.
Why It Works So Well
Reverse searing gives you the best of both worlds:
- Consistent doneness: You get a perfect pink center from edge to edge.
- Better crust: The final sear happens when the steak is dry and ready for browning.
- Less risk: It’s harder to overcook, especially with thicker cuts.
This method is ideal for cuts at least 1.5 inches thick — think ribeyes, New York strips, or filet mignon. You can even use it on pork chops, thick burgers, or lamb.
What You’ll Need
- A grill with two-zone heat
- A thick-cut steak (preferably bone-in)
- Instant-read thermometer
- Salt, pepper, and oil
- Optional: butter, garlic, and rosemary for basting
Step-by-Step: Reverse Searing on the Grill
Step 1: Prep Your Meat
Let your steak come to room temperature for 30–45 minutes. Pat it dry and season generously with kosher salt and black pepper.
Step 2: Set Up a Two-Zone Fire
Light your grill with one side hot and the other cooler. For charcoal, pile the coals on one side. For gas, turn on one burner and leave the others off.
Step 3: Slow Cook Over Indirect Heat
Place the steak on the cooler side of the grill, lid closed. Let it cook low and slow until it hits an internal temp of about 110°F for medium-rare (120°F for medium). This usually takes 20–30 minutes depending on thickness.
Step 4: Sear Over High Heat
Move the steak to the hot zone and sear each side for about 1–2 minutes until a dark crust forms. If you’re feeling fancy, baste with melted butter, garlic, and rosemary for an extra flavor bomb.
Step 5: Rest and Serve
Let the steak rest for 5–10 minutes before slicing. This locks in the juices and finishes the cooking.
Pro Tips for Success
- Use an instant-read thermometer — it’s your best friend here.
- Don’t skip the rest. The internal juices need a minute to redistribute.
- Avoid oiling the grates — oil the meat instead.
- Want smoke flavor? Toss a few wood chips on the coals during the indirect cook.
Why You’ll Never Go Back
Once you taste the tenderness and balance that reverse searing brings, you won’t want to cook thick steaks any other way. It’s the kind of method that shows off your skills without making things complicated. Whether you’re cooking for a crowd or just treating yourself, reverse searing is a technique every grillmaster should have in their arsenal