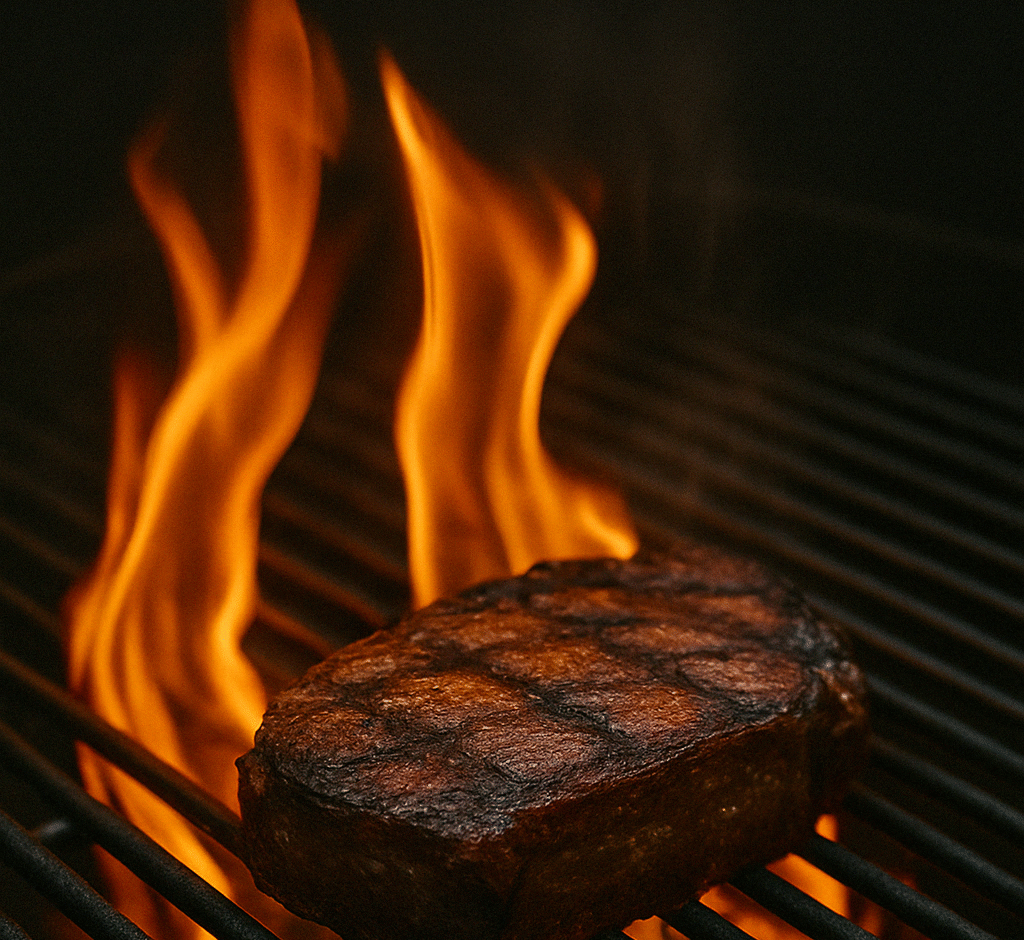
How to Avoid Flare-Ups and Still Get a Killer Sear
- 18 April 2025
- 0
- 3 Min Read

Tired of scorched meat and out-of-control flames? Learn how to stop flare-ups in their tracks while still delivering that perfect sear and smoky crust your BBQ deserves.
Flare-Ups: The Firefighter’s Enemy of Flavor
There’s nothing worse than opening your grill to find a full-blown firestorm engulfing your steaks or burgers. Flare-ups may look dramatic, but they’re not doing your food any favors. Burnt exteriors, bitter taste, and uneven doneness? Hard pass.
But here’s the twist—you can tame the flames and still get that rich, caramelized sear that screams BBQ perfection. Let’s break down exactly how to manage flare-ups without sacrificing flavor.
What Causes Flare-Ups?
Flare-ups happen when fat, oil, or marinade drips onto your heat source, instantly igniting a burst of flame. This typically occurs during direct grilling over high heat.
Common Triggers:
- Fatty cuts (ribeye, sausages)
- Oil-heavy marinades
- Skin-on chicken or pork
- Butter basting or spraying
The Right Way to Prevent Flare-Ups
1. Trim Excess Fat
Before grilling, trim off large visible fat caps or dangling pieces. Leave some fat for flavor—but don’t go overboard.
Target Cuts: Ribeye, chicken thighs, pork shoulder steaks
2. Pat Meat Dry Before Grilling
Moisture (especially oil or sugary marinades) feeds flare-ups. Pat your meat dry with paper towels before it hits the grill.
Bonus Tip: Marinate ahead of time, but don’t drip it straight from the bag to the flames.
3. Use Two-Zone Heat Setup
Create a safe zone. Sear over direct heat, and move the meat to indirect if flames get aggressive.
This is your “flare-up exit strategy”.
4. Control the Lid
Keep the lid closed as much as possible to limit oxygen flow and reduce flare-ups. More air = more fire.
- Gas Grill: Keep burners below target temp
- Charcoal Grill: Adjust bottom vents slightly to control airflow
5. Keep a Spray Bottle or Tongs Handy
A spray bottle of water can knock down small flare-ups. Use long tongs to move meat if things get too hot.
Caution: Don’t drench your coals or burners—this can drop temps or damage equipment.
Still Want a Killer Sear? Here’s How to Get It Safely
A flare-up-free sear is all about heat contact—not open flame.
Best Practices:
- Preheat the grill for 10–15 minutes (500°F+)
- Use cast iron grates or grill grates for better heat retention
- Sear for 1–2 minutes per side, then finish over indirect
- Let the meat rest for 5–10 minutes before slicing
Pro Tip: For thick steaks, try the reverse sear—smoke or slow-cook first, then sear at the end for flavor without fire chaos.
Final Thoughts
Flare-ups are natural, but they shouldn’t control your cook. With a few simple tricks—like trimming fat, using a two-zone setup, and being smart with oil—you’ll keep your flames in check and your flavor on point.
Sear smart. Grill clean. Serve proud.
Buy Here: Fire Control Essentials That Protect and Perfect Your Grill Game
Here are five top-rated Amazon products that help you avoid flare-ups and lock in incredible sear without the drama.
- GrillGrate Sear Panels (Interlocking)
Reduces flare-ups and maximizes sear marks with precision heat control.
https://amzn.to/3RkW6St - Weber Cast Iron Sear Grate Insert
Delivers professional-grade searing on gas or charcoal grills.
https://amzn.to/4lzBZOi - OXO Good Grips 16-Inch Locking Tongs
Long reach keeps your hands safe from sudden flare-ups.
https://amzn.to/42hMT3N - BBQ Spray Bottle (Food-Safe, Stainless Steel Nozzle)
Keep flare-ups in check without drenching your fire.
https://amzn.to/42vNJIW - Lodge Pre-Seasoned Cast Iron Grill Press
Flattens meat for better crust and keeps fat from dripping into the fire.
https://amzn.to/4jcuyLg
