
A Step-by-Step Guide to Saving Time and Sanity
- 19 April 2025
- 0
- 4 Min Read
Love BBQ but hate the mess? This step-by-step guide will help you clean your grill, tools, and prep space like a pro—fast, easy, and with way less stress.
The Afterparty That Nobody Likes
You just crushed a killer BBQ session. Ribs were juicy, burgers were perfect, and everyone left full and happy. Then you look around and reality sets in—grease, crumbs, sticky sauces, and blackened grates.
The good news? Cleanup doesn’t have to be a nightmare. With the right system, a few smart tools, and some preventative habits, you can get your BBQ space spotless without spending your entire evening scrubbing.
Here’s a no-nonsense, step-by-step breakdown to help you clean up faster and smarter.
Step 1: Let Everything Cool Down (Safely)
Before diving in, give your grill and accessories at least 30 minutes to cool off. You want things warm enough for grease to come off easier, but not so hot that you’re at risk of burns.
Pro Tip:
While things cool, clear plates, cans, and trash from your BBQ zone so you’re not working around clutter.
Step 2: Scrape the Grill Grates
As soon as it’s safe, use a grill brush or scraper to tackle the grates. It’s way easier to do this while the grates are still slightly warm.
Best Tools:
- Wire-free grill brush
- Wooden scraper (for cast iron grates)
- Nylon brush (for ceramic/coated grills)
Optional: Spray a 50/50 mix of white vinegar and water for extra cleaning power before scraping.
Step 3: Empty Ash and Grease Trays
Ash buildup restricts airflow and grease buildup is a fire hazard. Empty your ash catcher (if charcoal) and grease pan (if gas or pellet) after every few cooks.
What to Use:
- Disposable aluminum liners for grease trays
- Small metal scoop and bucket for ash
- Degreaser or dish soap + hot water for stubborn grease spots
Step 4: Soak and Scrub BBQ Tools
Tongs, spatulas, brushes, meat claws, skewers—all of these need a quick wash.
Quick Soak Mix:
- Hot water
- Dish soap
- 1 tbsp baking soda (optional, for tough buildup)
Soak for 15 minutes, scrub with a sponge or brush, and dry thoroughly to avoid rust.
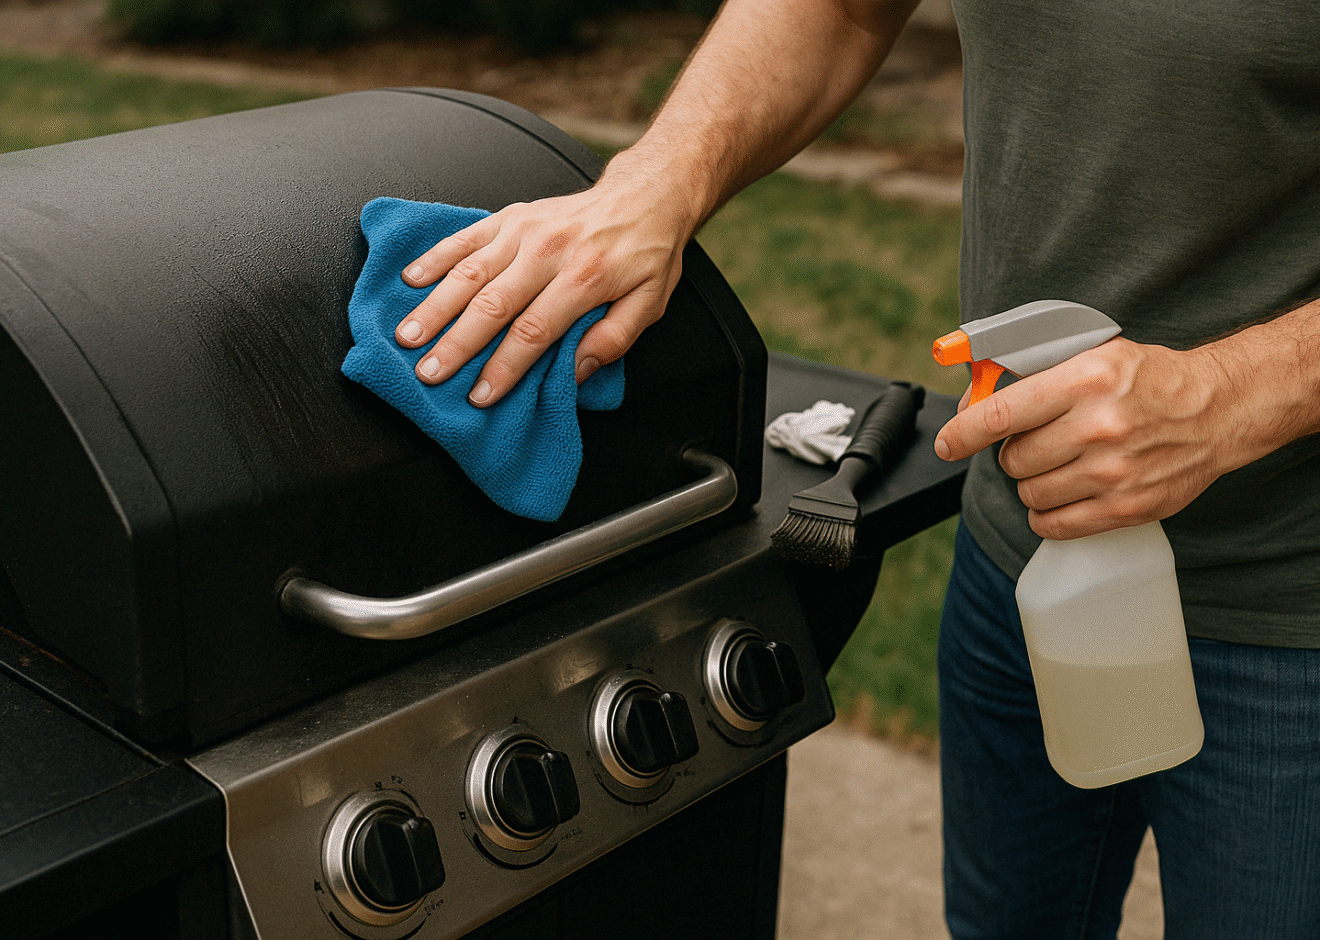
Step 5: Wipe Down the Grill Exterior
Use a non-abrasive sponge or microfiber cloth and a gentle cleaner (or soapy water) to wipe down the outside of your grill, smoker, or prep table.
For stainless steel, use a stainless steel cleaner or a vinegar-based spray for shine.
Step 6: Refresh Your Work Zone
Clean off your prep table, throw away used foil or paper towels, and organize your tools so they’re ready for the next session.
If you used a smoker or wood-fired setup, sweep up any stray ash, wood chips, or spent pellets.
Optional Power Moves
- Grill cover: Put it on once your grill is completely dry
- Tool hooks or bin: Keep your BBQ tools organized in one place
- Wheels locked: Keep your grill stable and safe between uses
Final Thoughts
A clean BBQ setup isn’t just about looks—it helps your gear last longer, keeps food tasting better, and makes your next cookout smoother. Think of it as resetting your smoke station for greatness.
Keep it simple. Stay consistent. And spend less time cleaning, more time grilling.
Buy Here: Time-Saving Cleanup Tools on Amazon
These top-rated cleanup tools help make post-BBQ messes quick and painless:
- Weber 3-Sided Grill Brush (Wire-Free)
Safe on all grate types, tough on grime.
https://amzn.to/4cEpEnW - Kingsford Disposable Grease Pans (10-Pack)
Line your grease tray and toss the mess—easy win.
https://amzn.to/44s9GLq - Q-Swiper Grill Cleaning Spray with Microfiber Cloths
Gentle but effective—great for grill exteriors and prep surfaces.
https://amzn.to/3RWyeEQ - Grillaholics BBQ Tool Cleaning Kit
Complete kit with scraper, scrubber, and detail brush.
https://amzn.to/3Yut7zp - Griddle Caddy Stainless Steel BBQ Tool Organizer Rack
Hooks, shelf, and drip tray—all in one sleek wall mount.
https://amzn.to/3Y29O0u